4 Top CAD Tips to Save Tons of Time
Written by Peter
Hello all CAD users, do you enjoy doing CAD but you’re just overwhelmed by how many buttons and toggles there are? Well in this article I’m going to show you what some of those mysterious buttons do so you can utilise them in your next project.
I’ll only be talking about a handful since we would be here all day if I was to mention all of them. Without further ado, here’s some of the most useful ones that I’m sure will make your CADing much more efficient.
. . .
1. Use constraints to make things easier.
All CAD programs have these weird little icons that show up in the toolbar when editing a sketch. But do you know what they actually mean? These icons are called constraints and they can be used to make sketching easier so you can make more complicated shapes with less effort.
Let’s go through a few of them and see what they mean, maybe you’ll use them in your next project.
Note: Constraint icons should look the same/similar on any CAD software you are using.
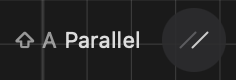
Parallel
Got two lines going in the same direction? Keep them in place with the parallel constraint.
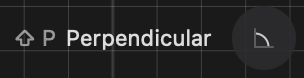
Perpendicular
Perpendicular is just a fancy word for a 90-degree angle, but good for your sketches. This can keep your corners in their place.
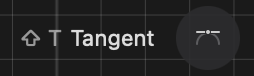
Tangent
Attach lines to circles and circles to lines with Tangent. Tangent is more rarely used but it’s good to know how it works since sometimes aligning circles can be a pain.
. . .
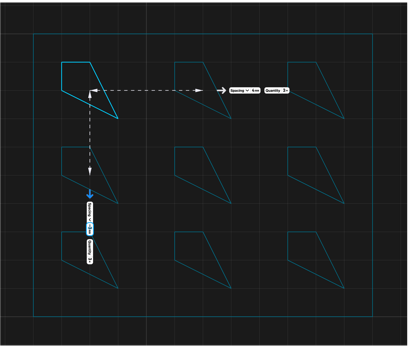
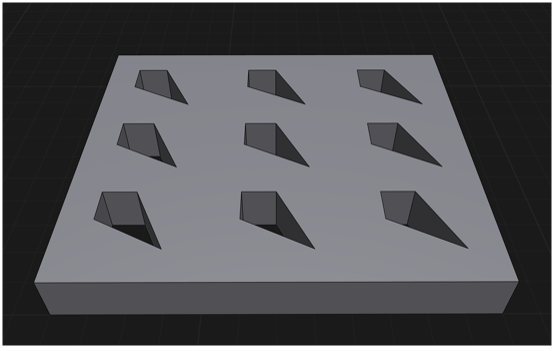
2. Doing something repetitive? There’s a way to maintain your sanity.
Most CAD programs have a pattern tool so you can save time on repetitive tasks. How advanced the tool depends on the software you are using but most platforms include it. Now you might have already known it’s there but never tried using it since it may be a bit overwhelming, but it really isn’t. Once you start using patterns you can’t go back!
. . .
3. Revolve can help with complicated projects.
So far you might have only been sketching up a rectangle, maybe used a few circles, and then filleted it afterwards. But what happens when you need to make, for example, a chess piece?
That’s where revolve can come in; it is super powerful if you know how to use it properly. It can create the most complicated CAD models in seconds.
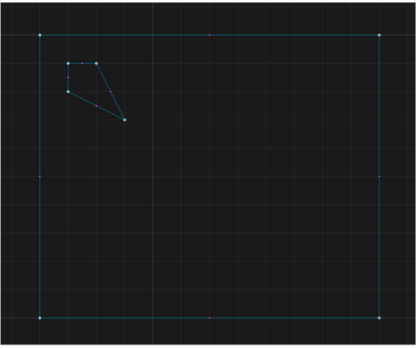
Okay, let’s try making this pawn (right image) in any CAD software you like with just one sketch, and a revolve.

Step 1: Create a sketch of half of anything you like, or a chess piece.
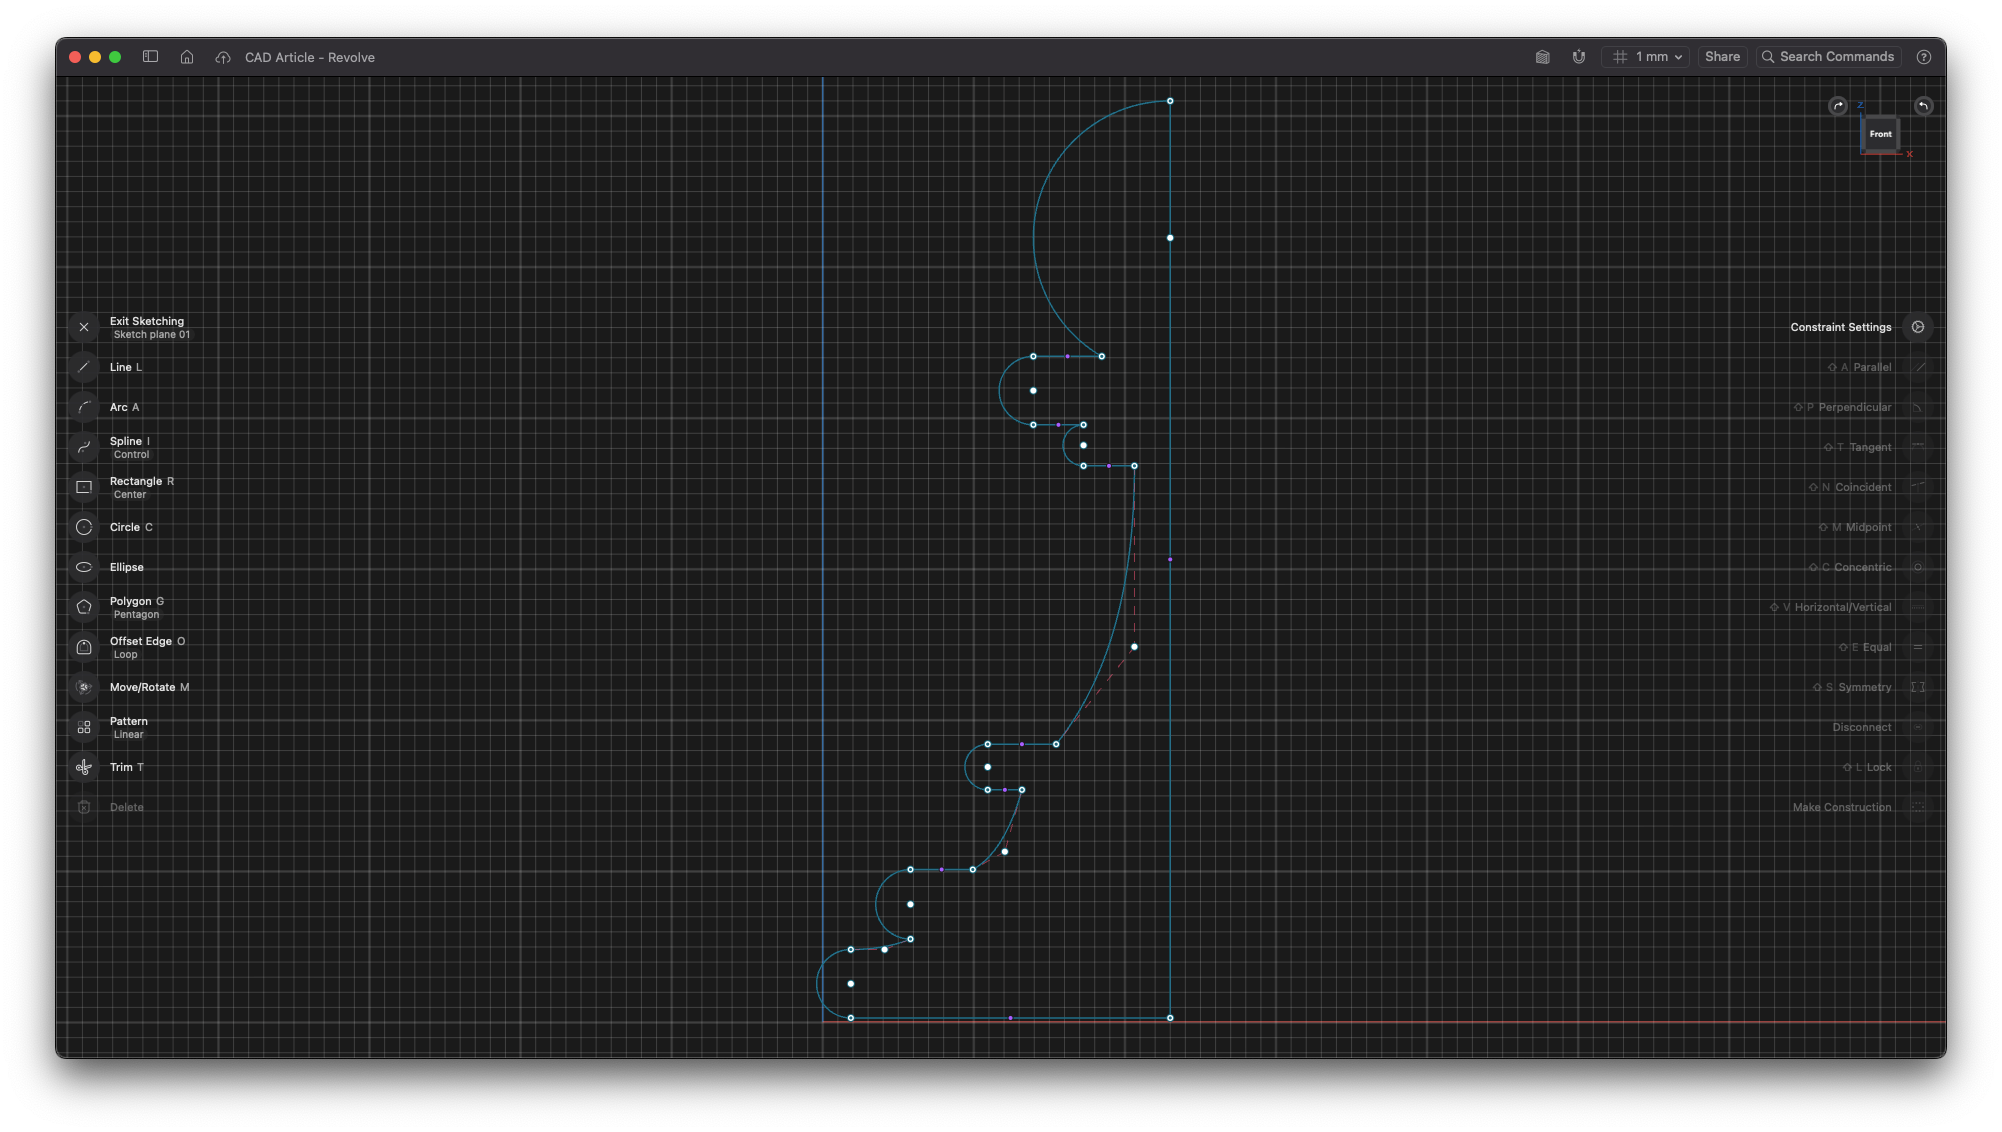
Step 2: Create a new axis at the mirror point of your sketch that’s going to be revolved.
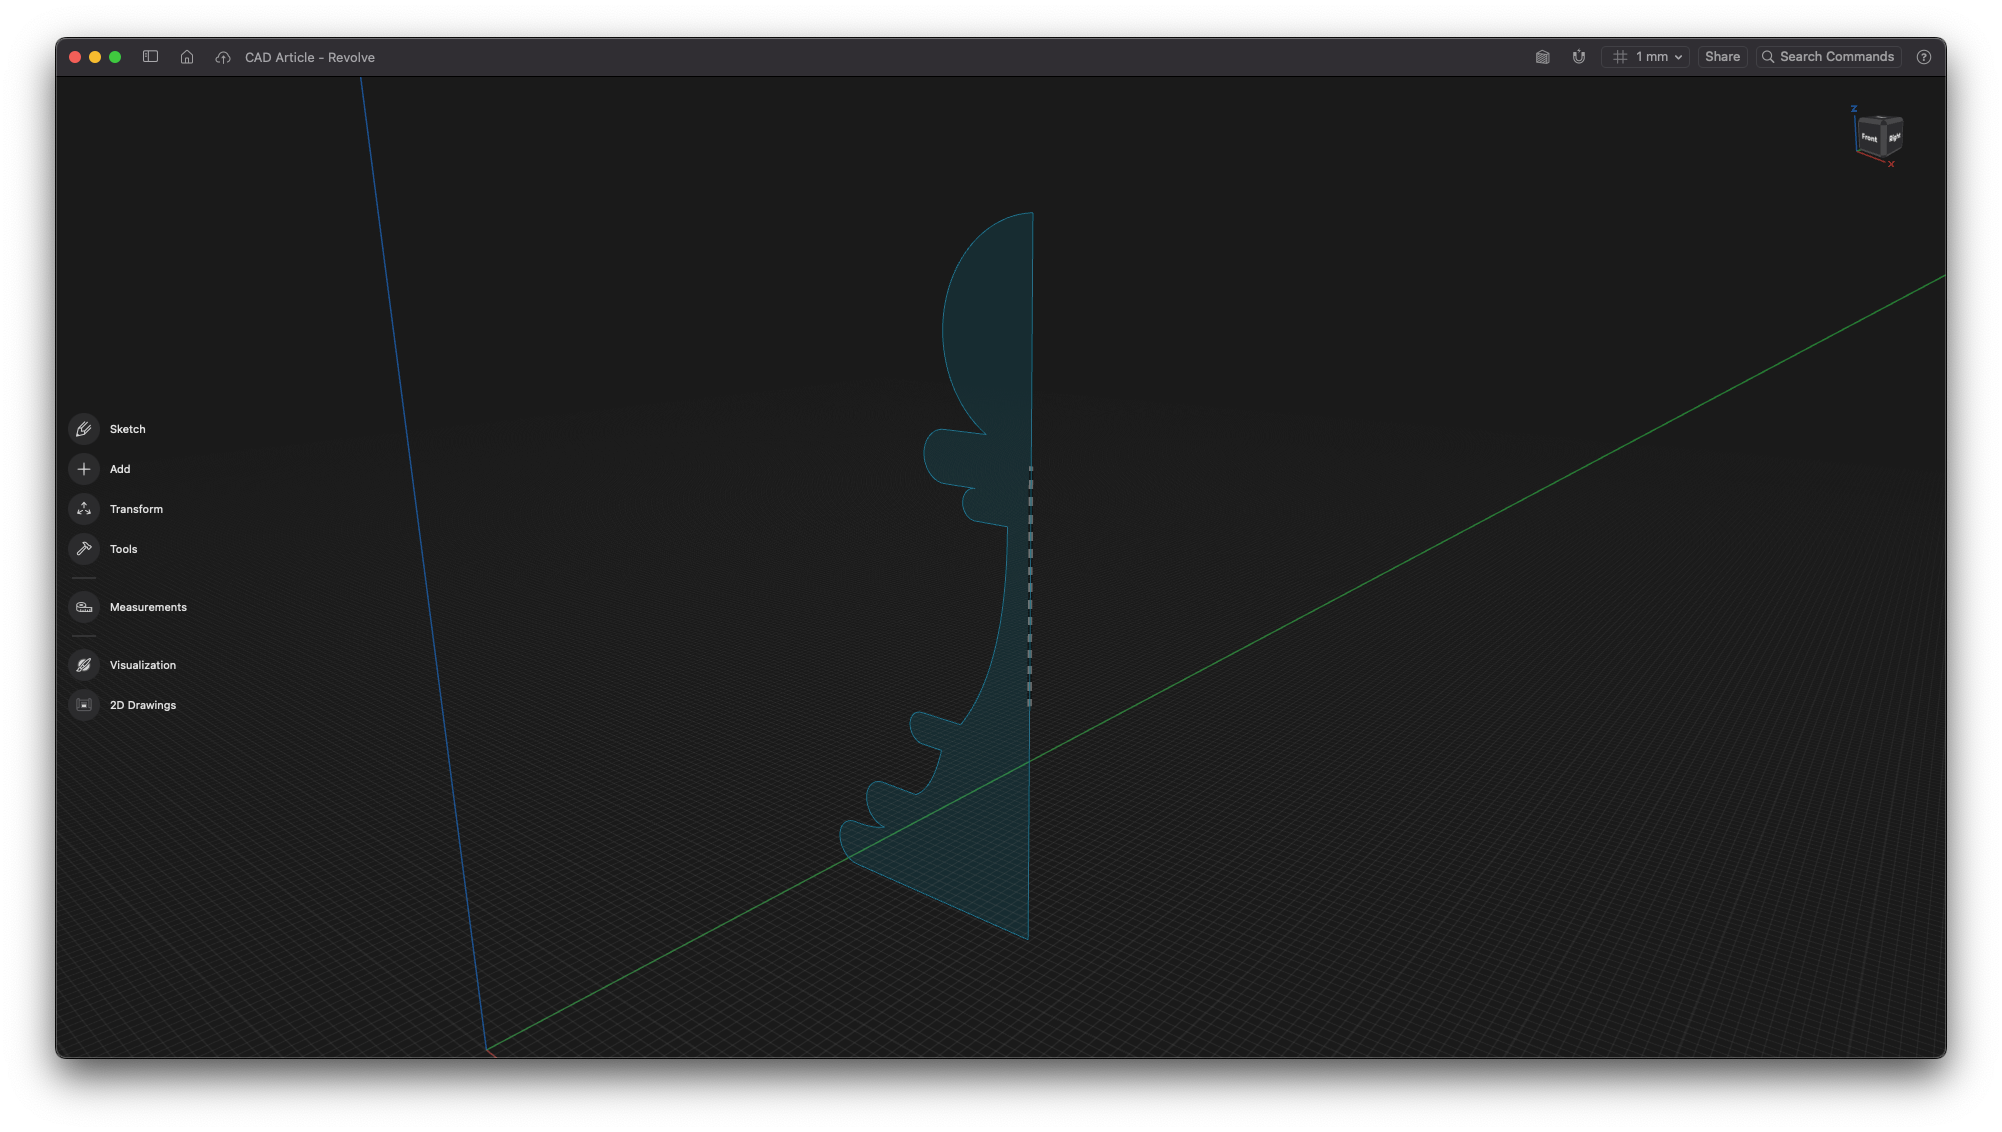
Step 3: Select revolve, click on your sketch, and then click on the axis and bang! There’s your creation.
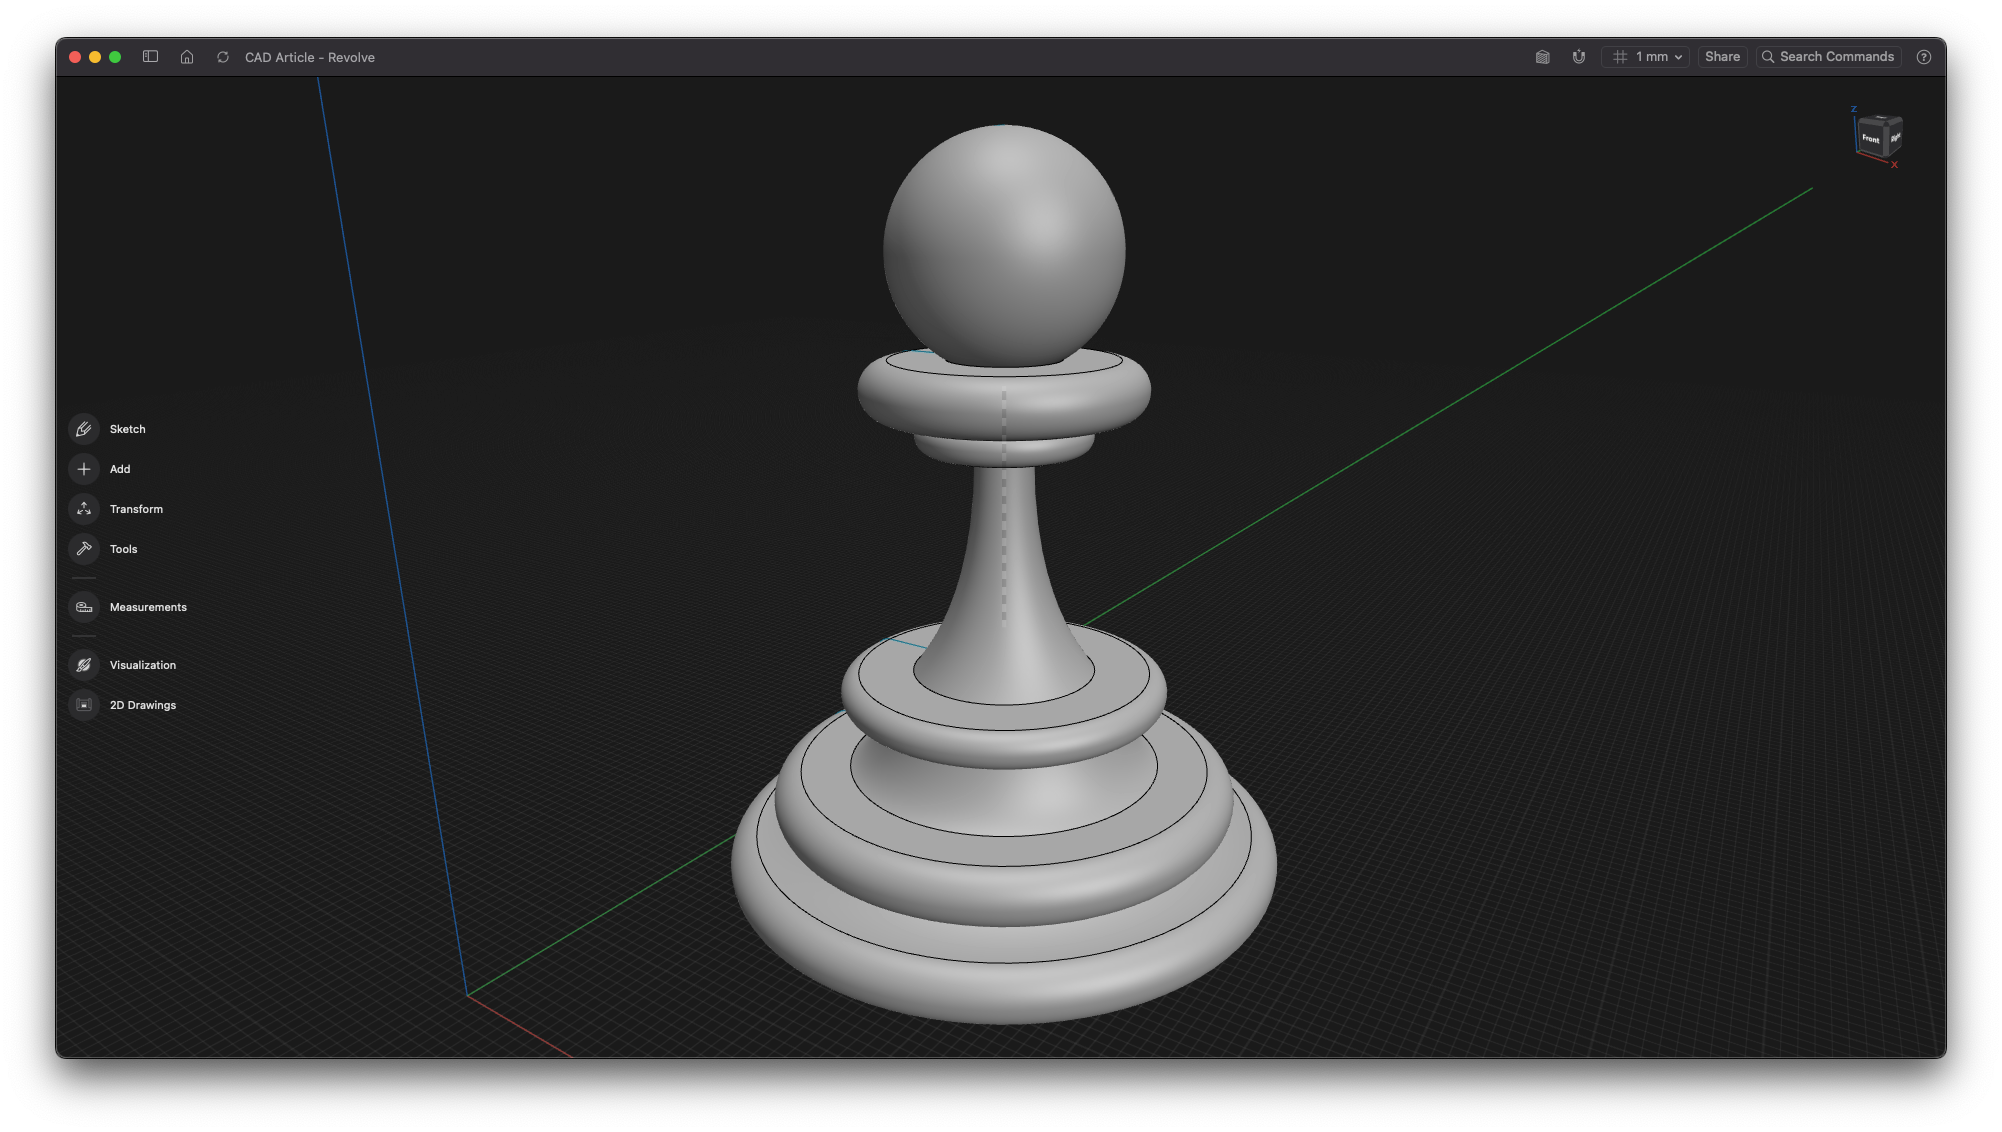
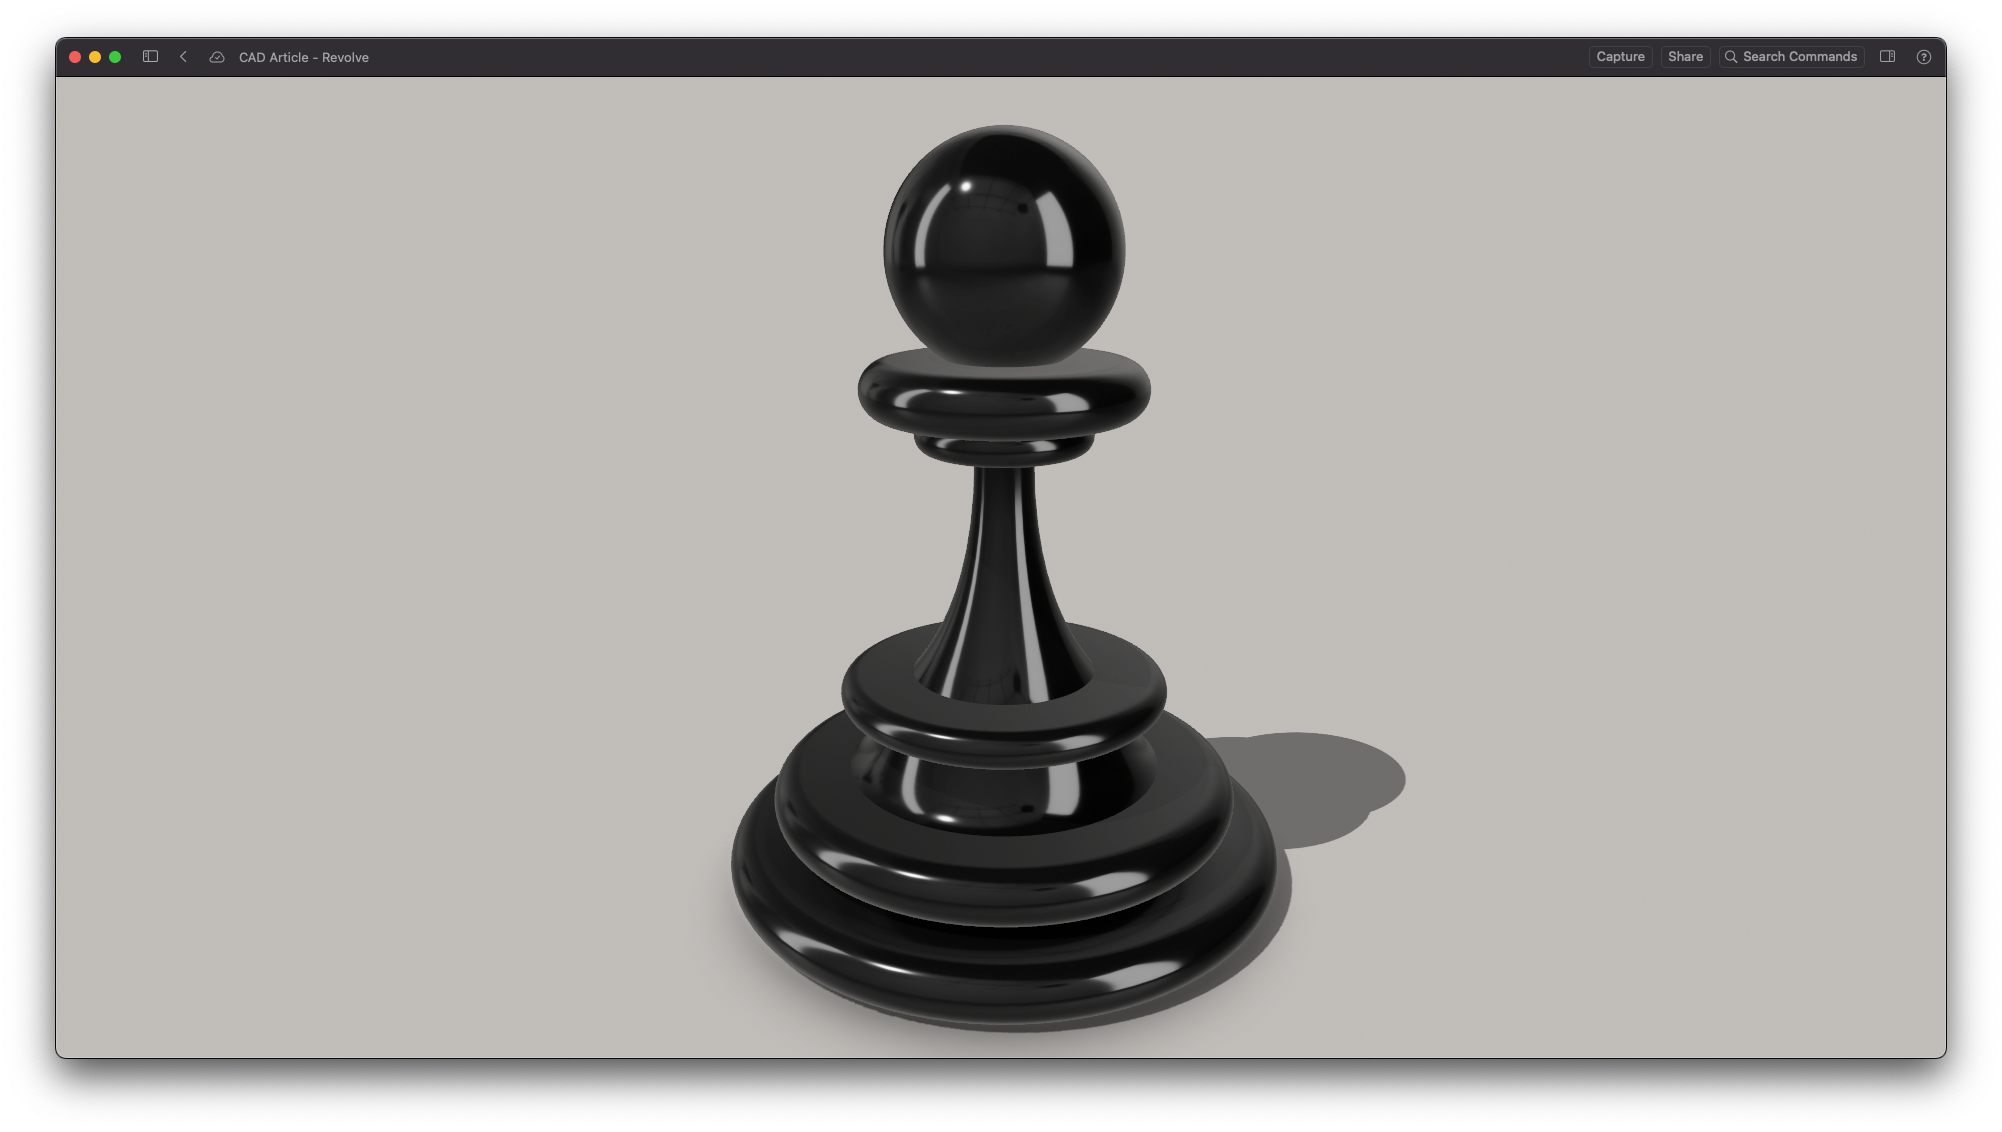
A model like this would usually take a long time to sketch up in CAD, but with the revolve tool it can be done in a quick minute!
. . .
4. Get better access to an object.
Ever needed to align an object but by a face that isn’t visible, or selectable? A quick and easy way to do this is to simply right-click on the object you want to access and press ‘isolate’. Voila! Now you have full access. Need to select that face and another object’s face? Just re-right click and un-isolate it, just like that!